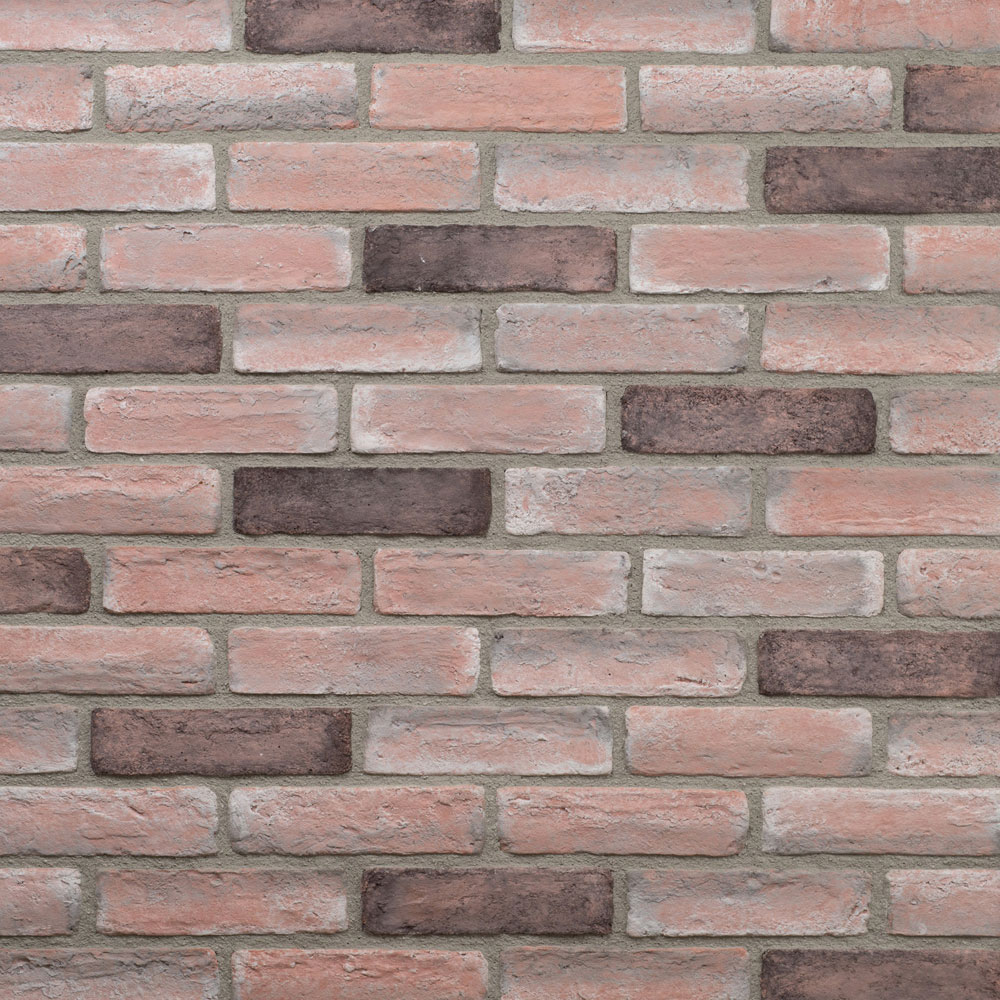
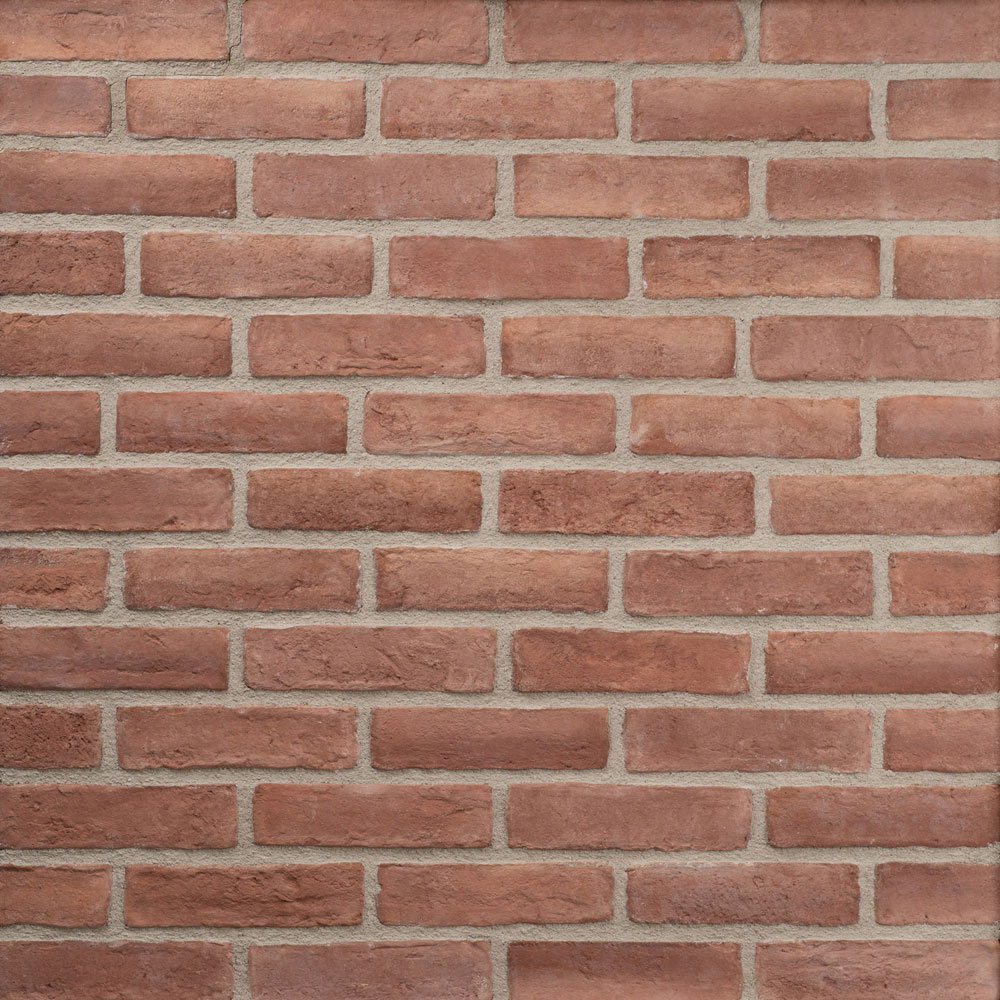
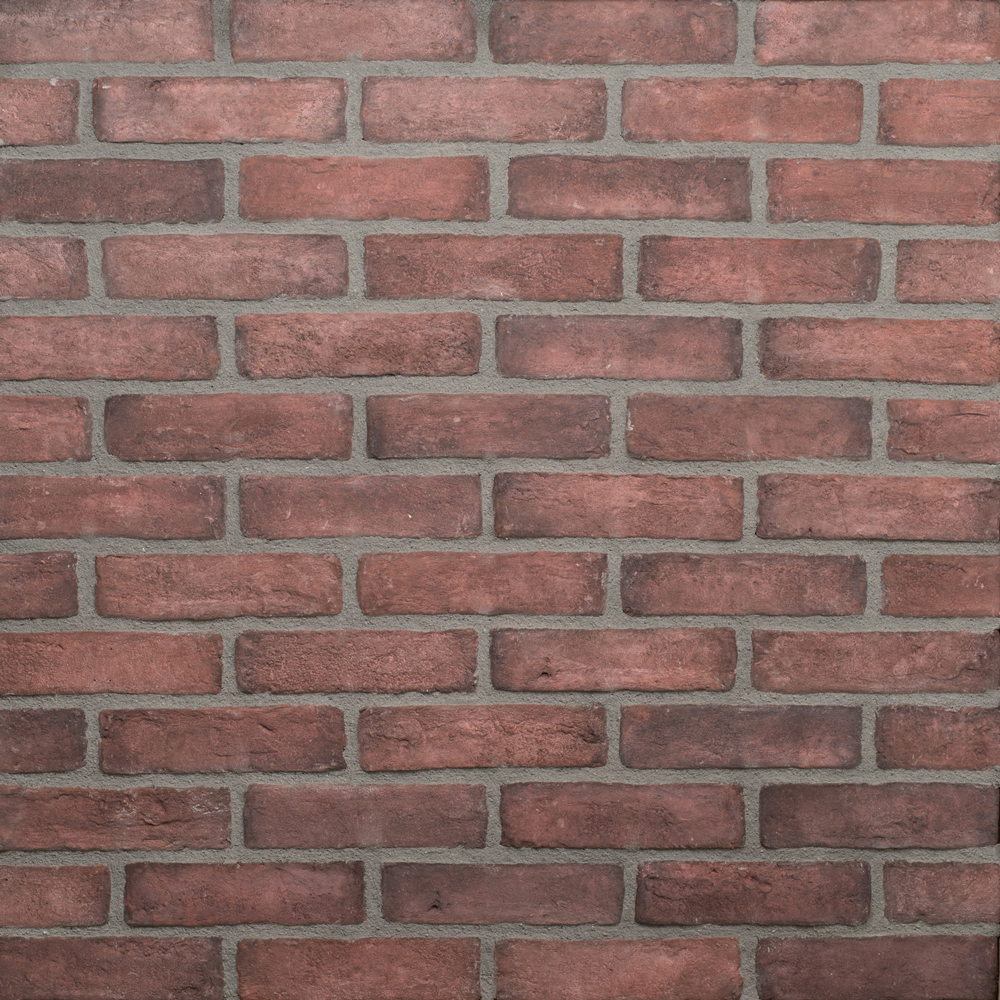
Masterbrick Aged Red 108162
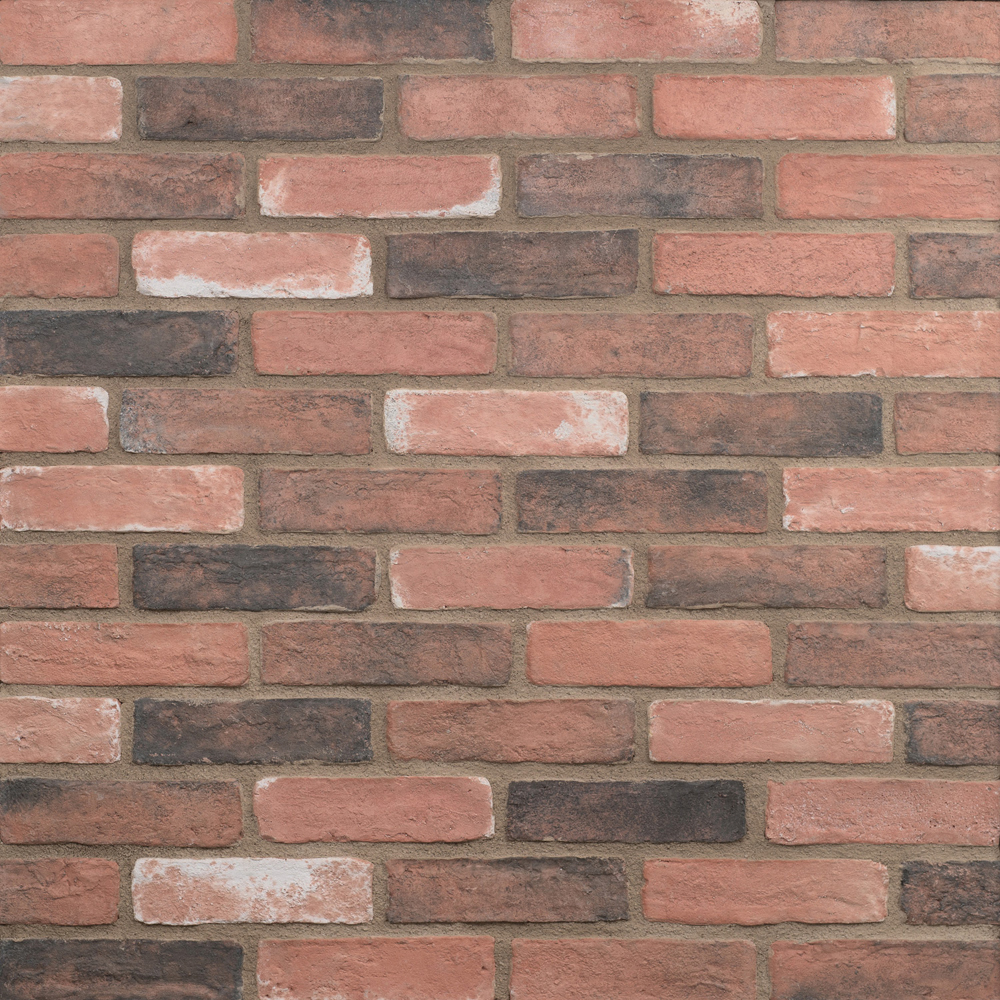
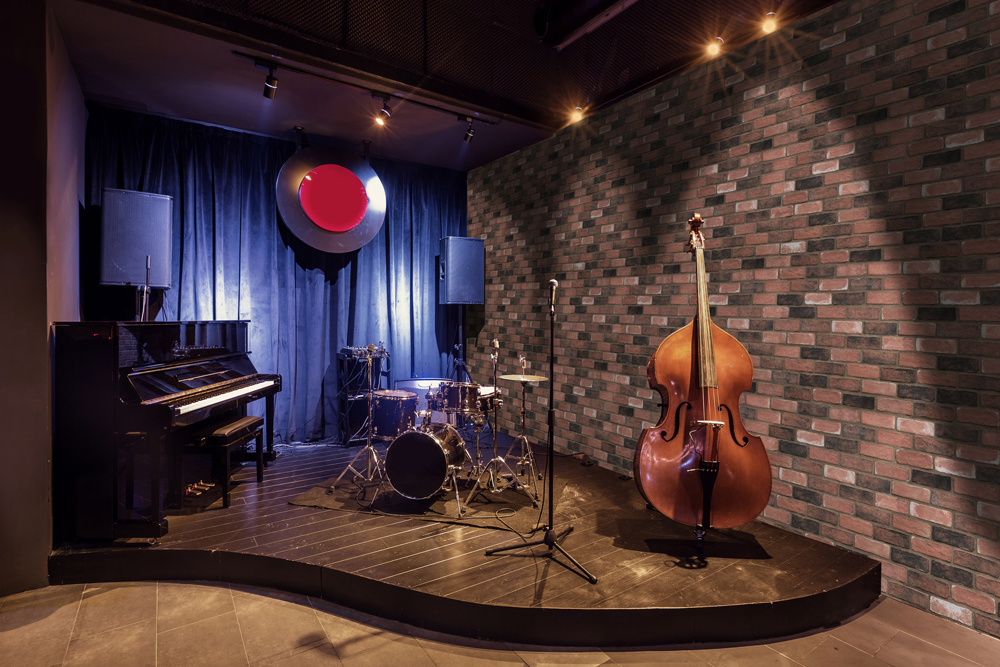
Inspiring projects with Masterbrick Aged Red

Aged Red
Aged Red

Aged Red
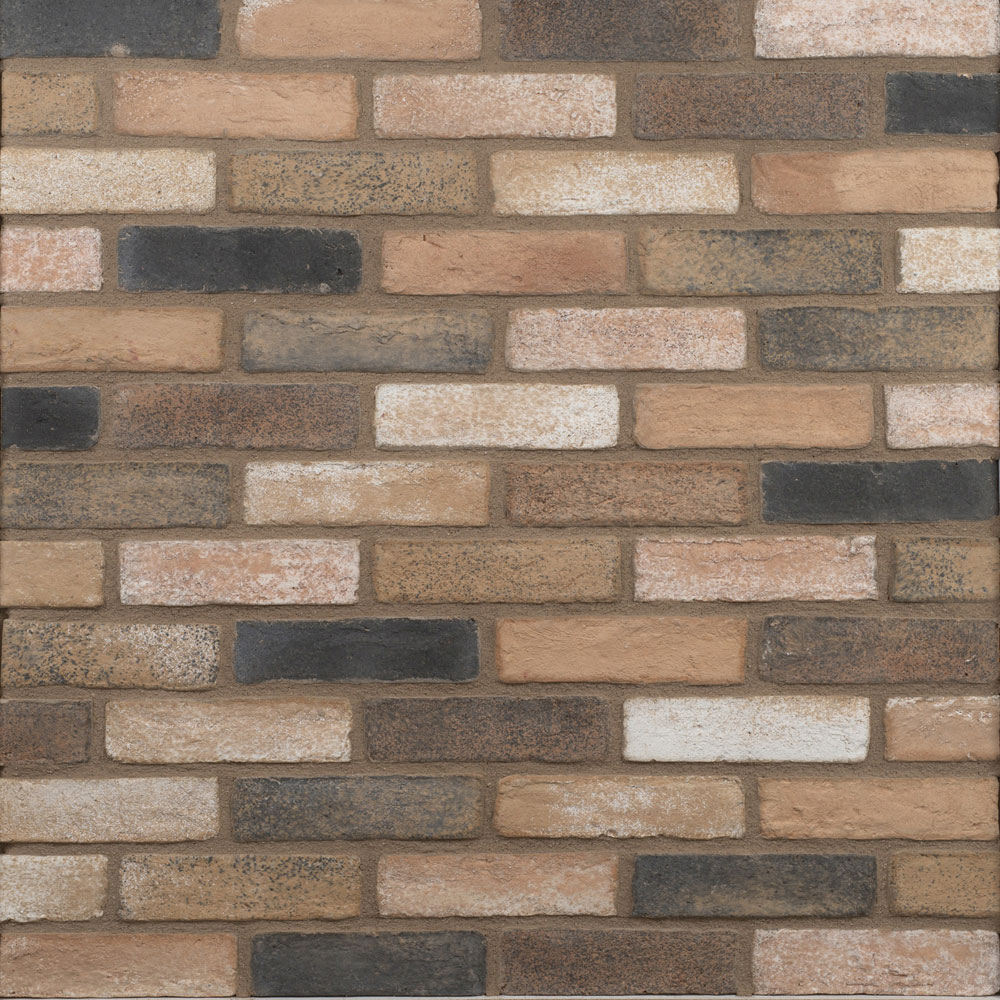
The whole Masterbrick collection
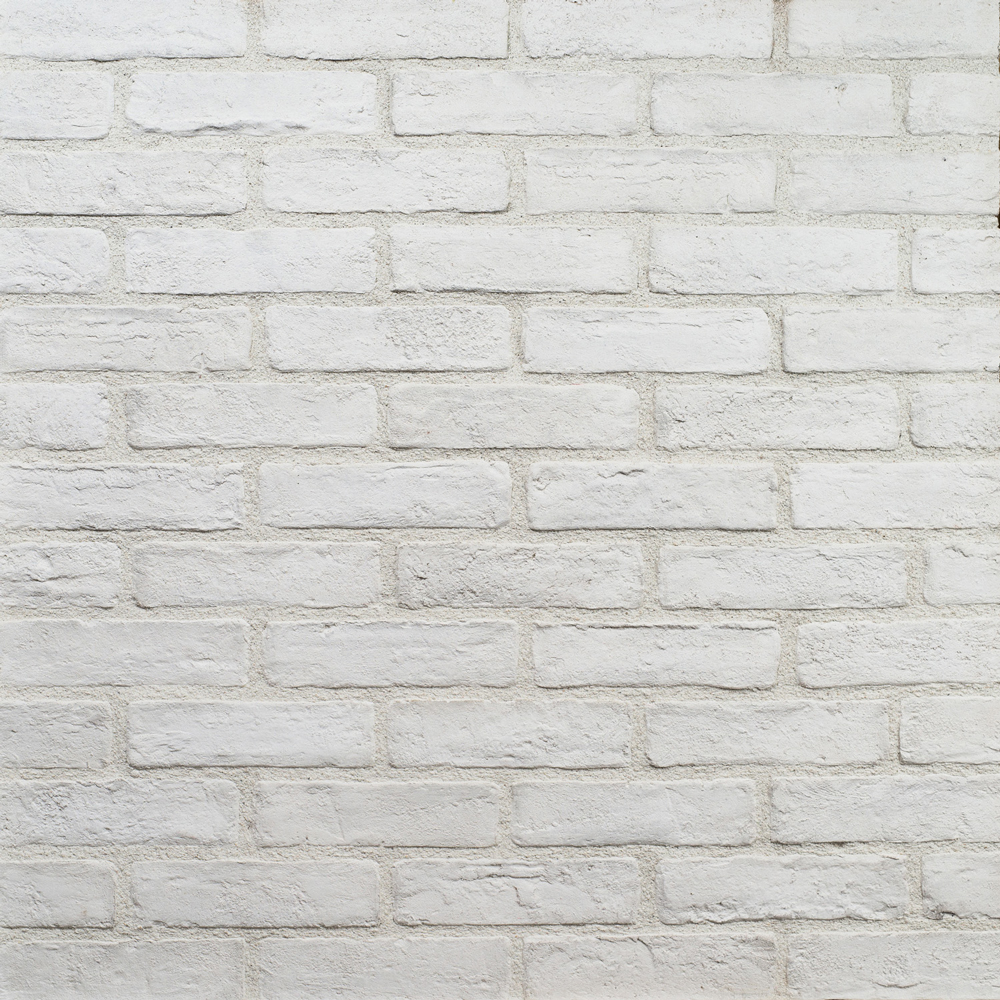
White
108153
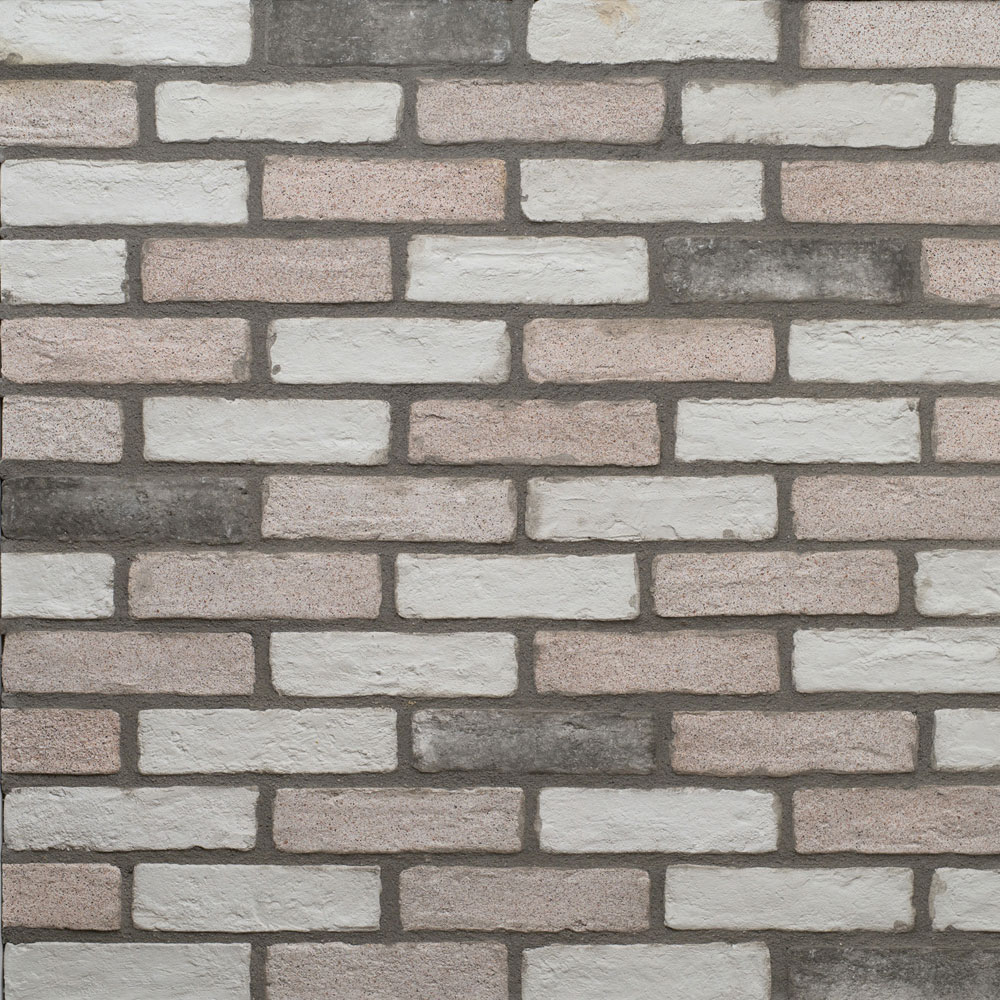
White Grained
108216
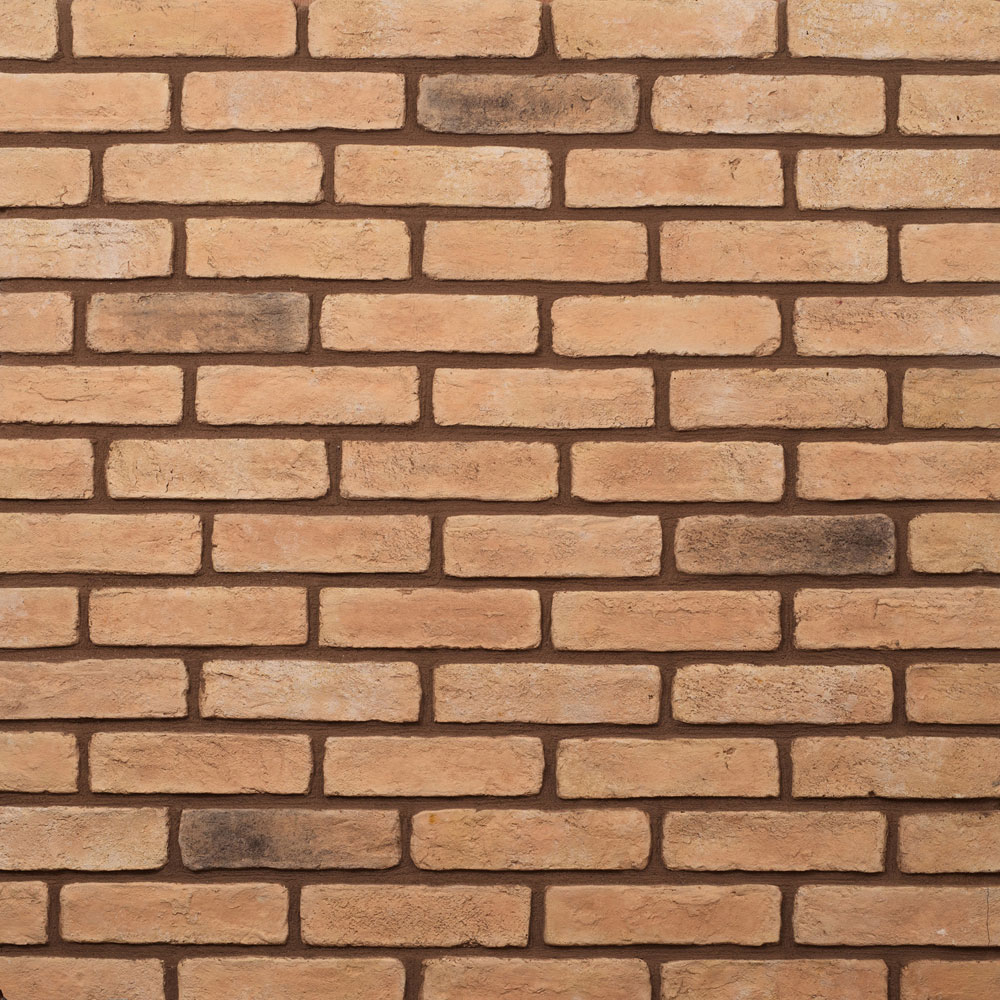
Amber
105955
Dusk
106059
Keramos
105957
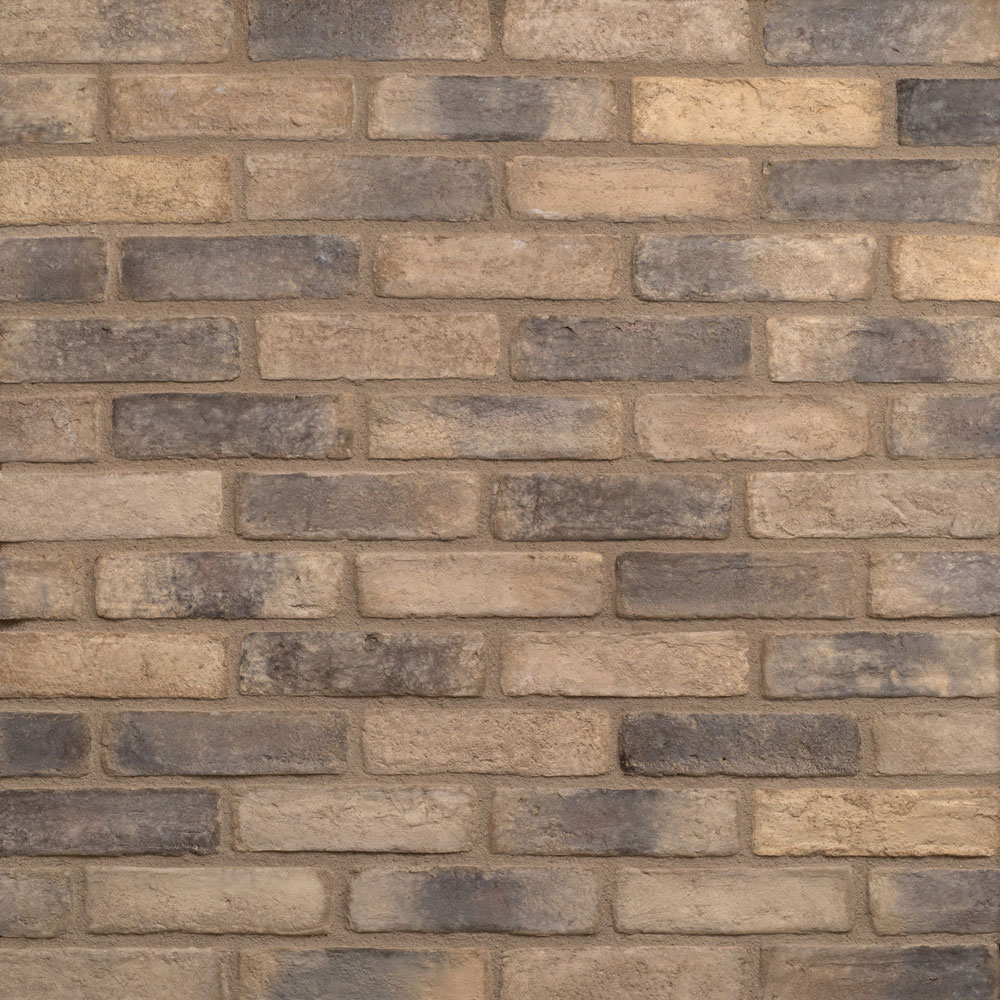
Khaki
106057

Copper
108160
Foggy Amber
108158
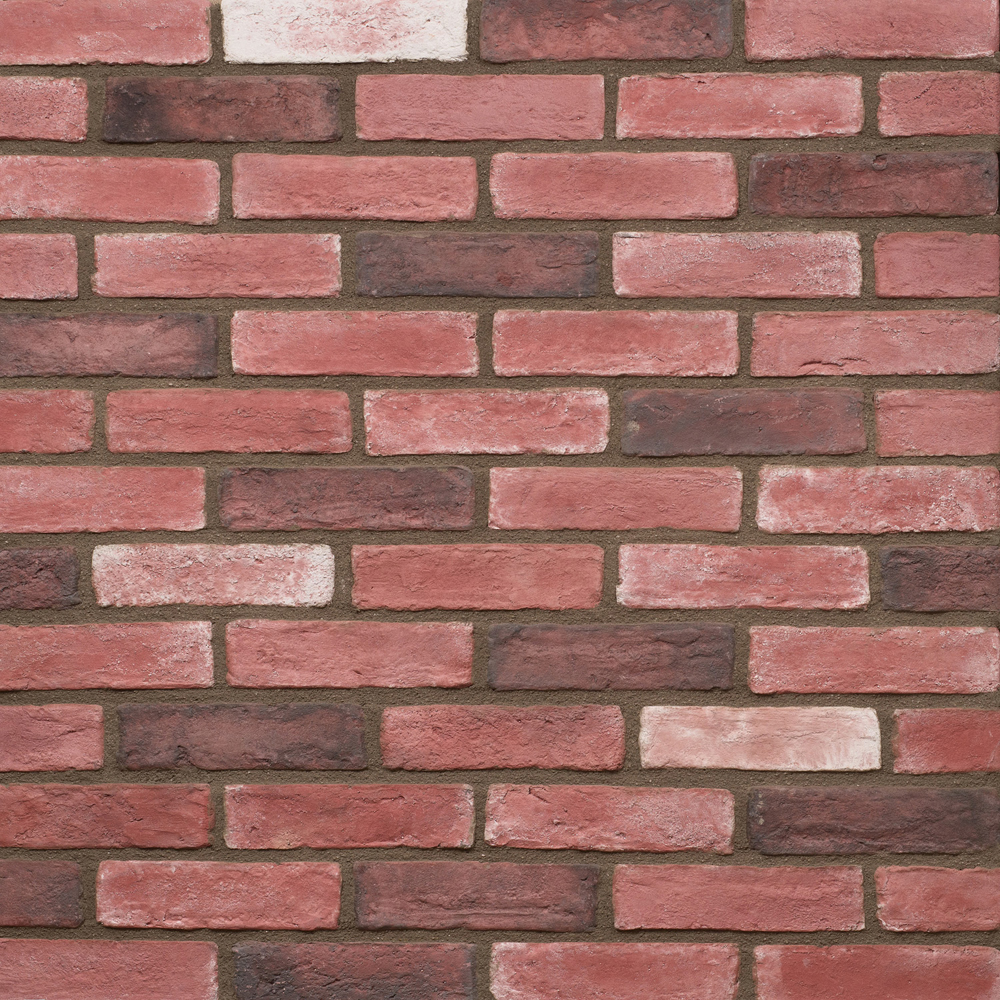
Red Tarnished
106061
Dark Red
106063
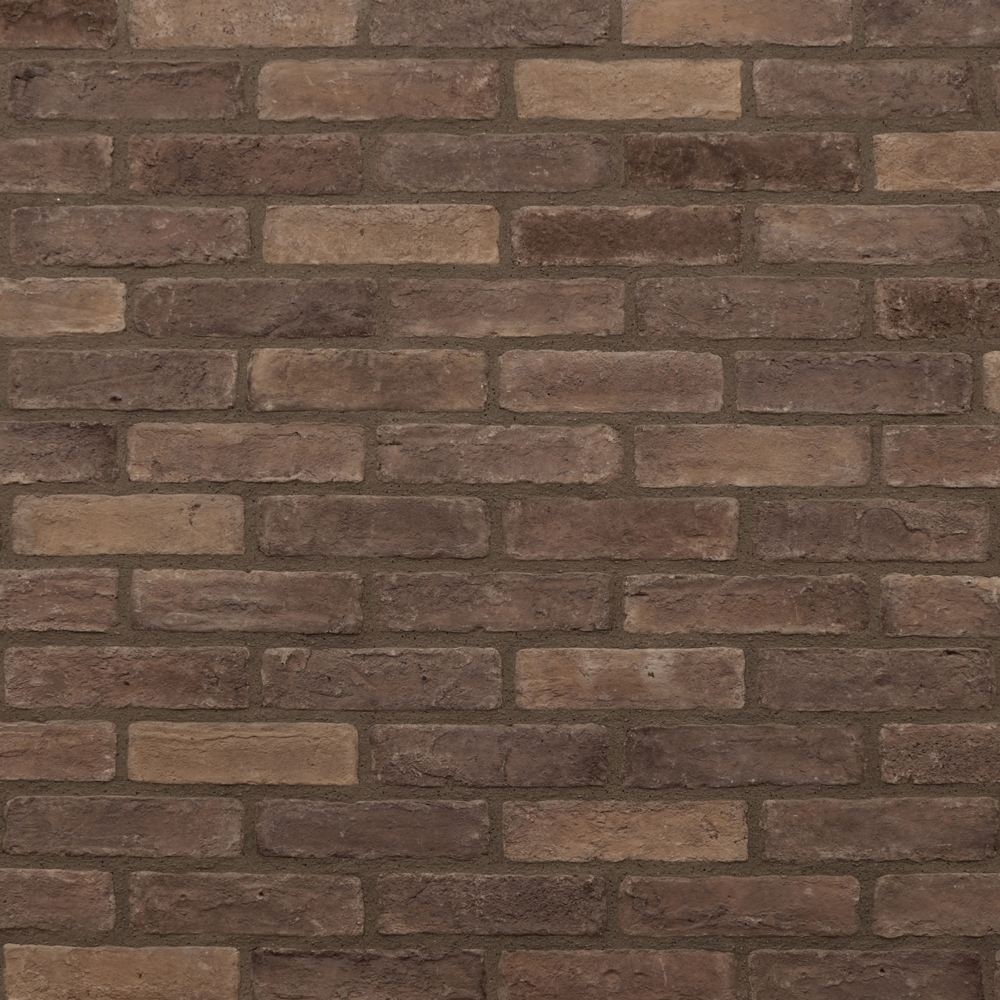
Brown
110153
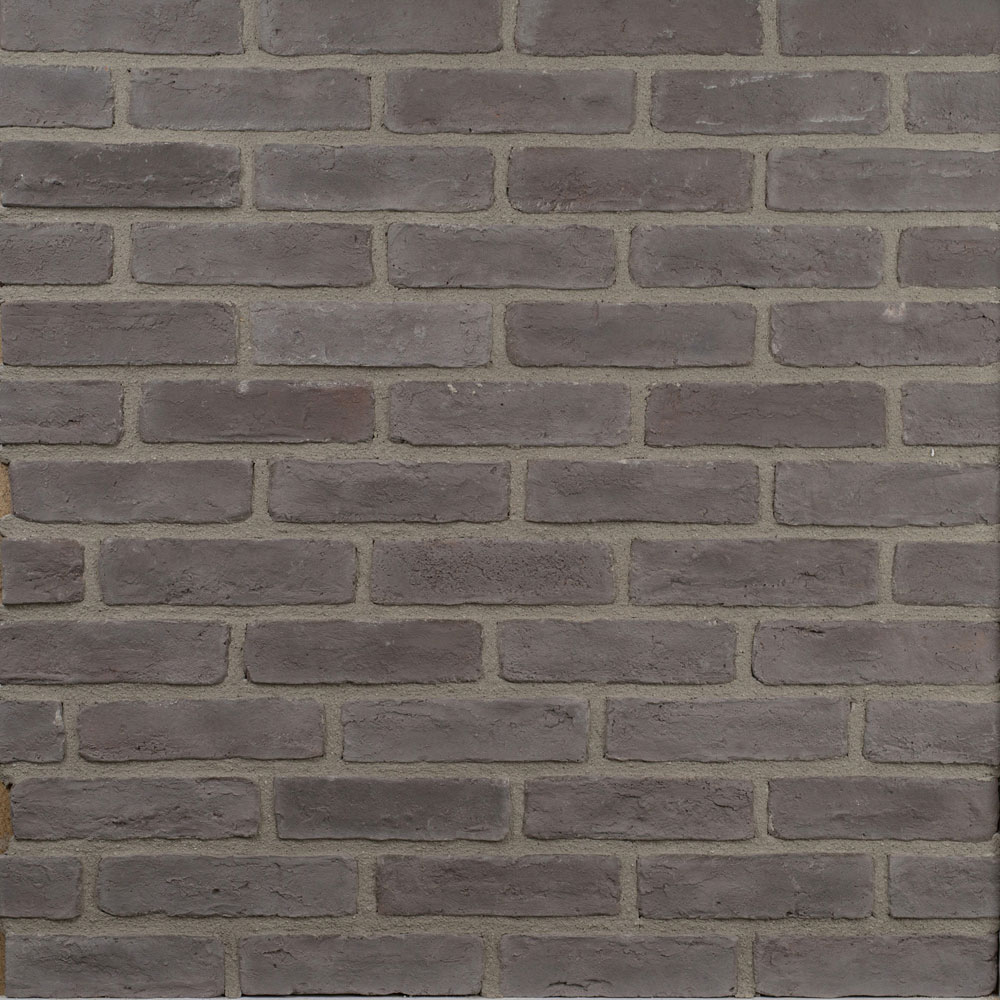
Gray
110083
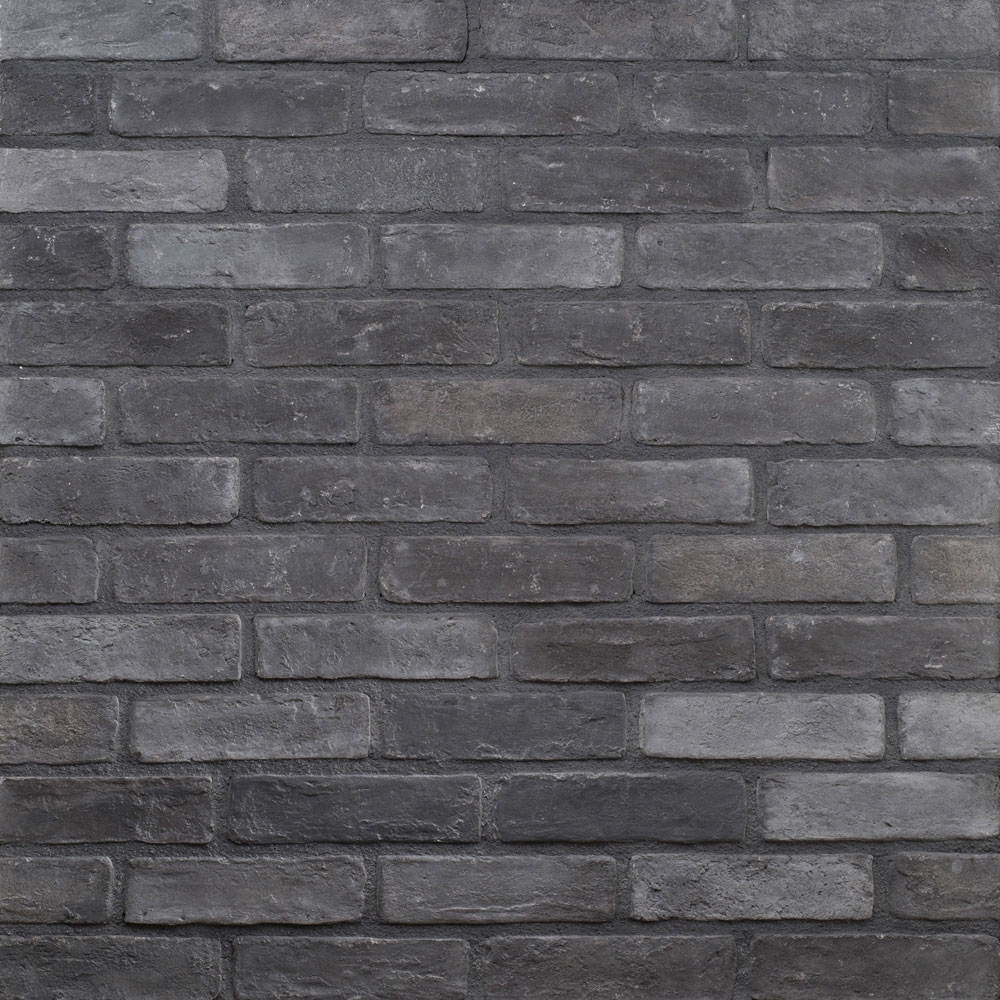
Black
108779
![]() Upon Request
Upon Request
| Flat | Corner | |
|---|---|---|
| 60-63 mm | 60-66 mm | |
| 220-240 mm | L.a 120 mm
L.b 230 mm |
|
| 10-15 mm | 12-16 mm | |
| 18 kg* | 11 kg* | |
| 1,110 m²* | 2,15 ml* | |
*per Carton |
Weather Conditions
Applicable on Internal & External spaces
Resistant to: Extreme temperatures from
-30 to +60 degrees Celsius, Frost, UV,
Different humidity levels, Water.
Corners


The product colours and textures shown in the website are as accurate as screen specifications allow.
We recommend looking at product samples before ordering.
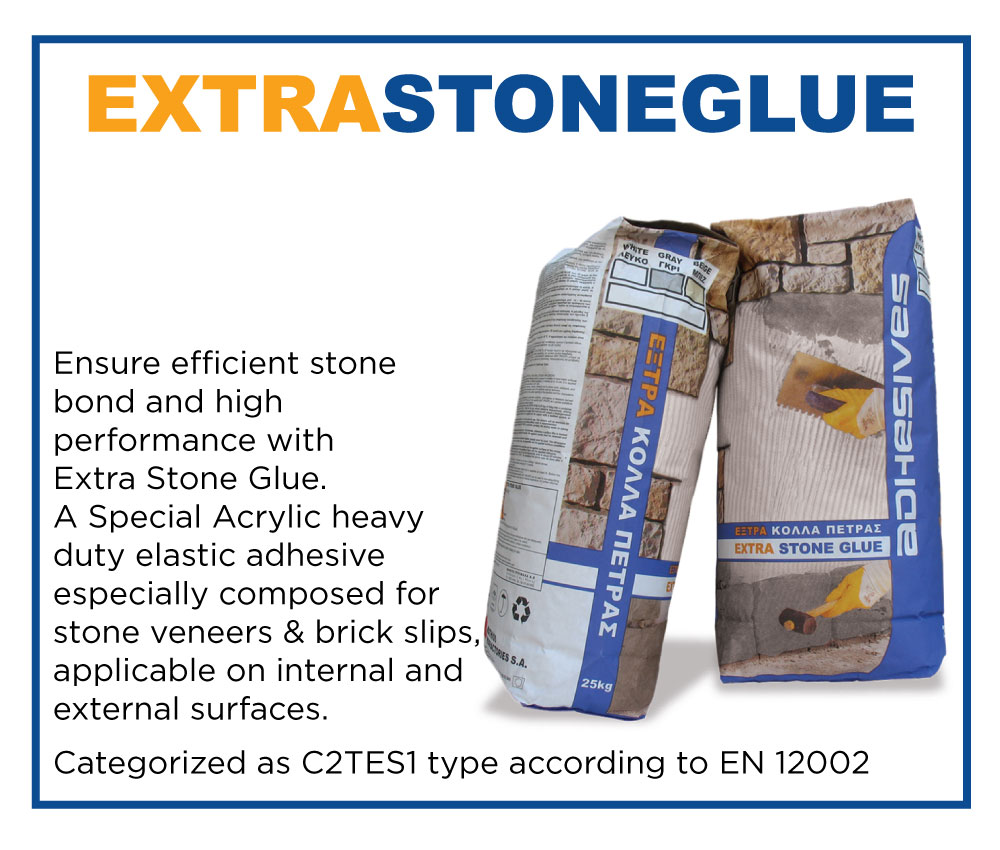
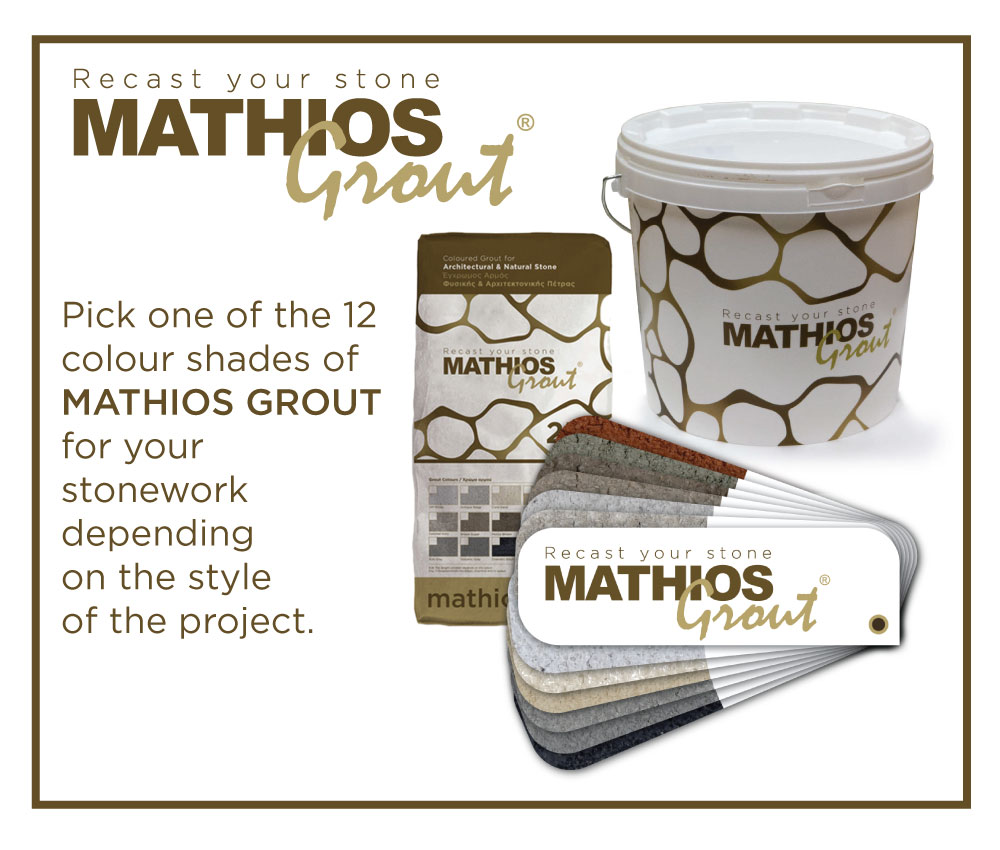
Complementary Products