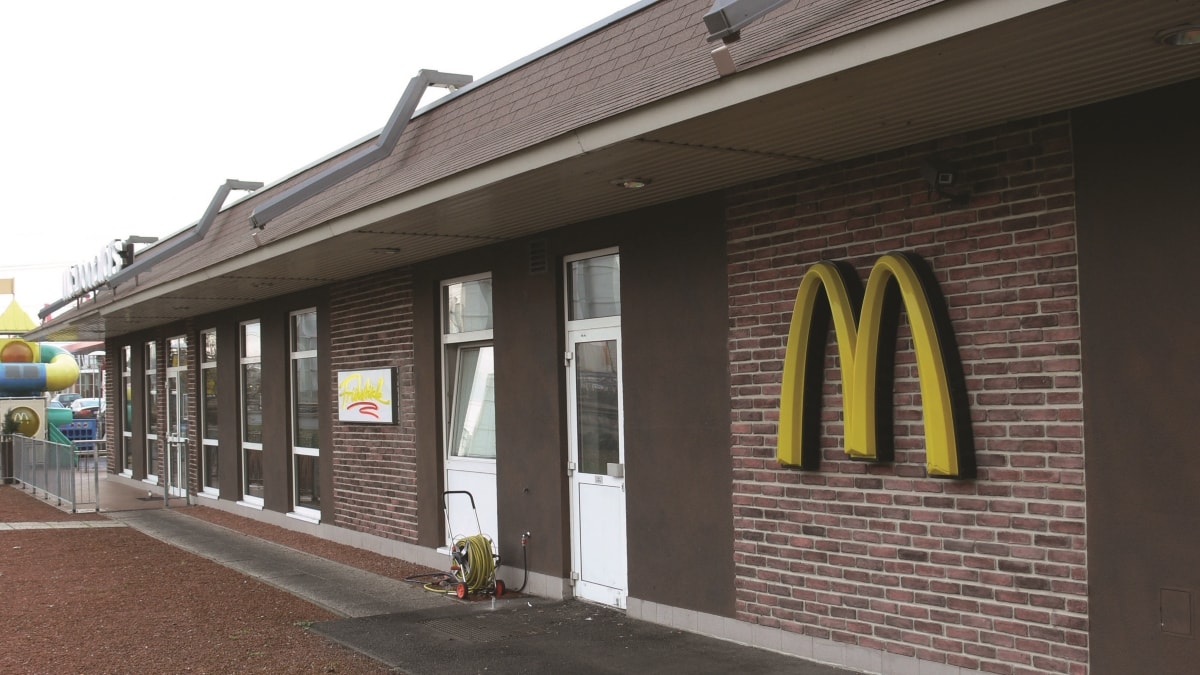
Masterbricks
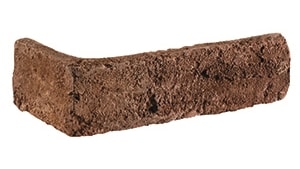
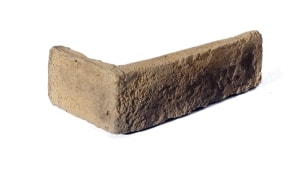
Masterbricks zeichnen sich durch eine authentische antike Textur in einzigartigen Farben aus und sind für den Innen- und Außenbereich geeignet. Masterbricks enthält auch Ecksteine für eine perfekte Passform auf jedem Untergrund. Die Natur ist unsere Inspiration. Qualität, Ästhetik und Langlebigkeit sind unsere Markenzeichen.
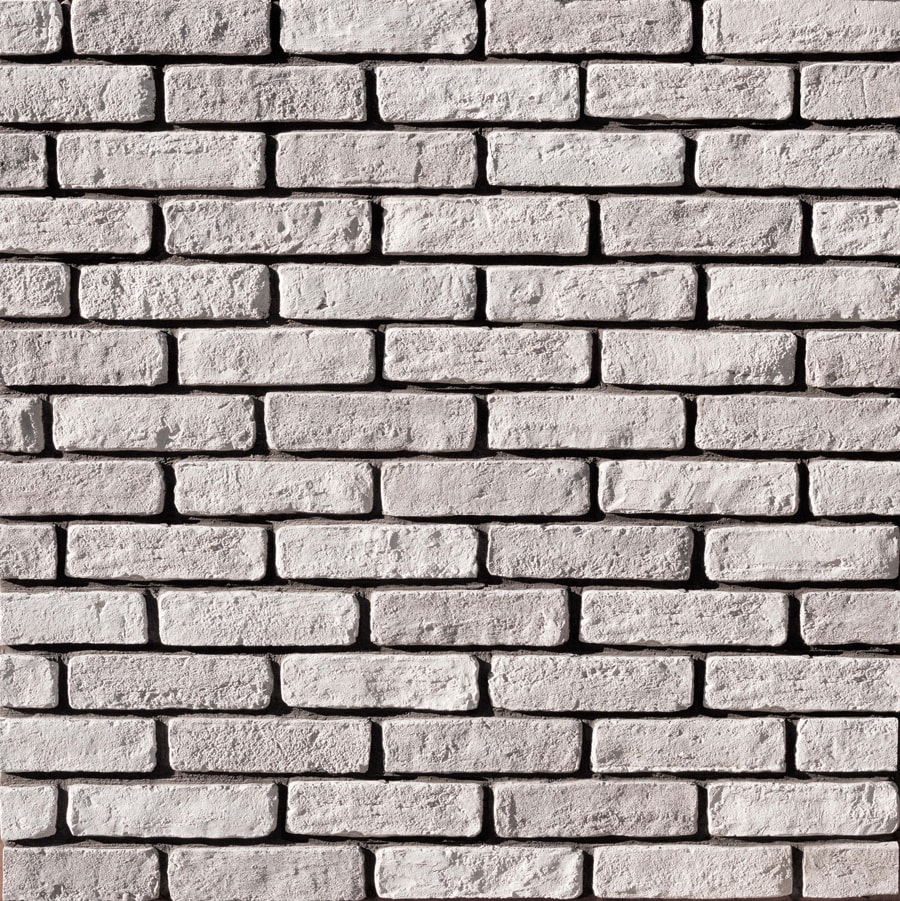
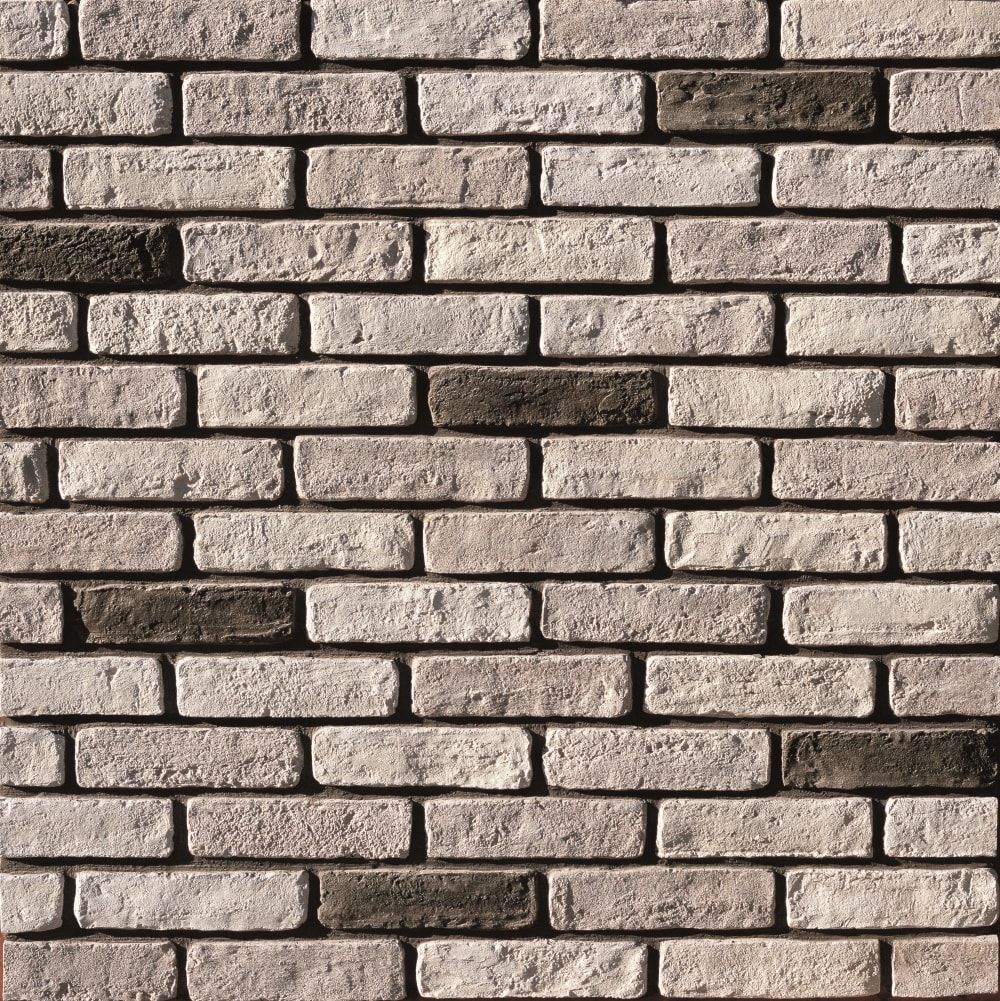
Masterbrick Weiß
108153
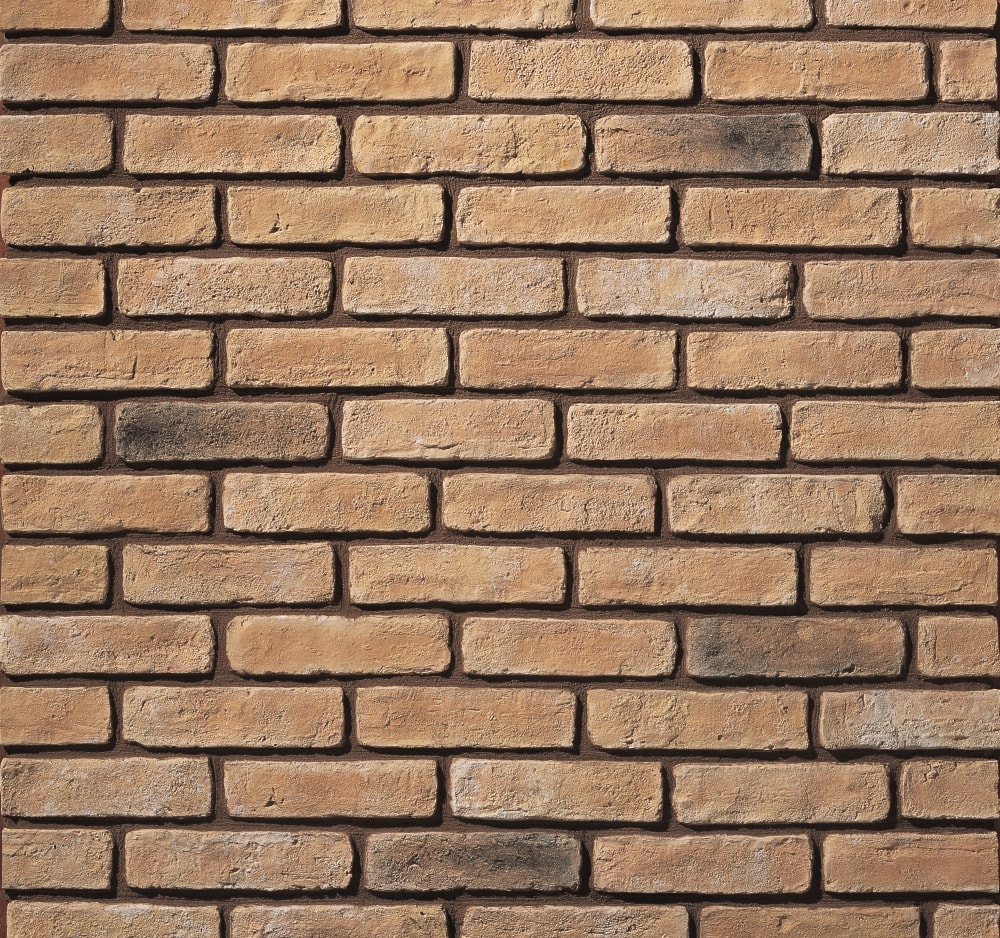
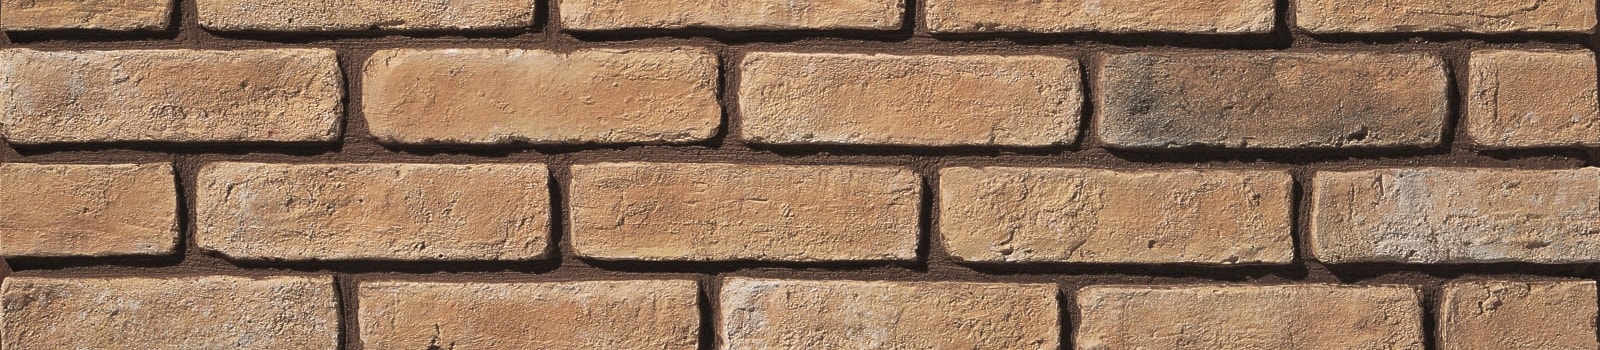
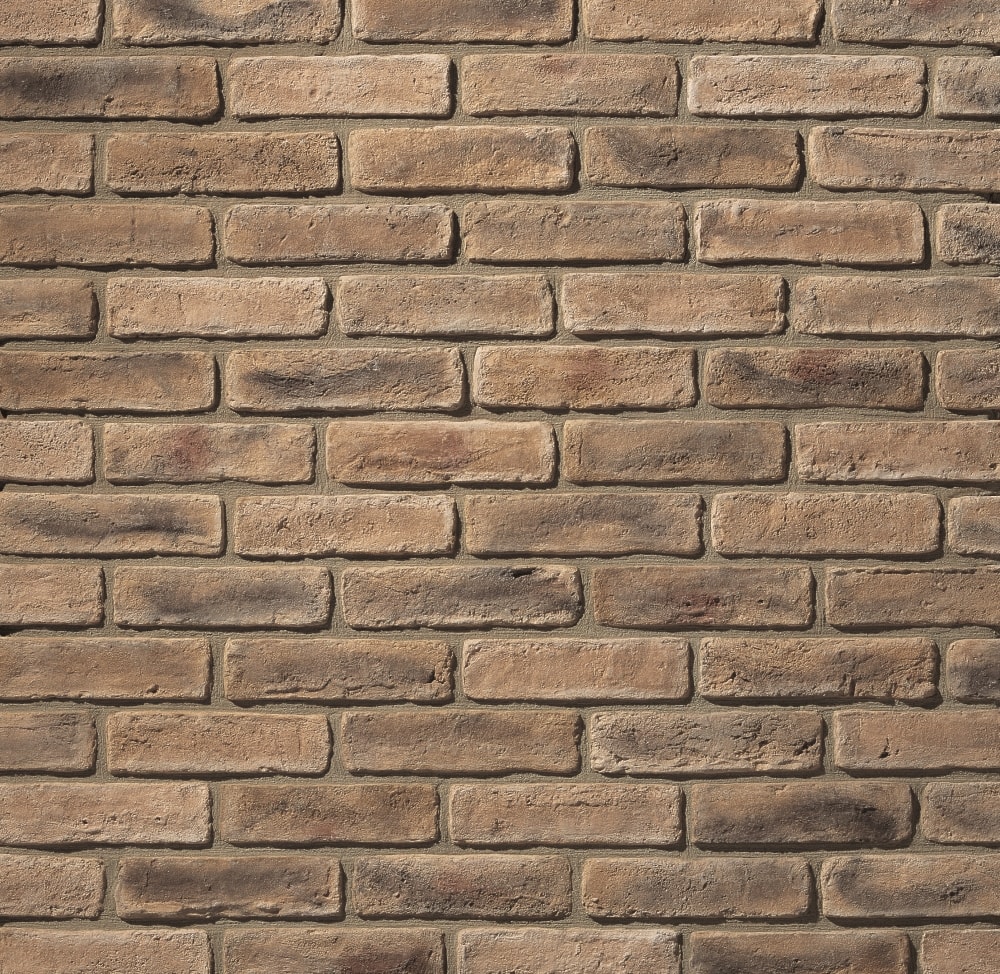
Masterbrick Amber
105956
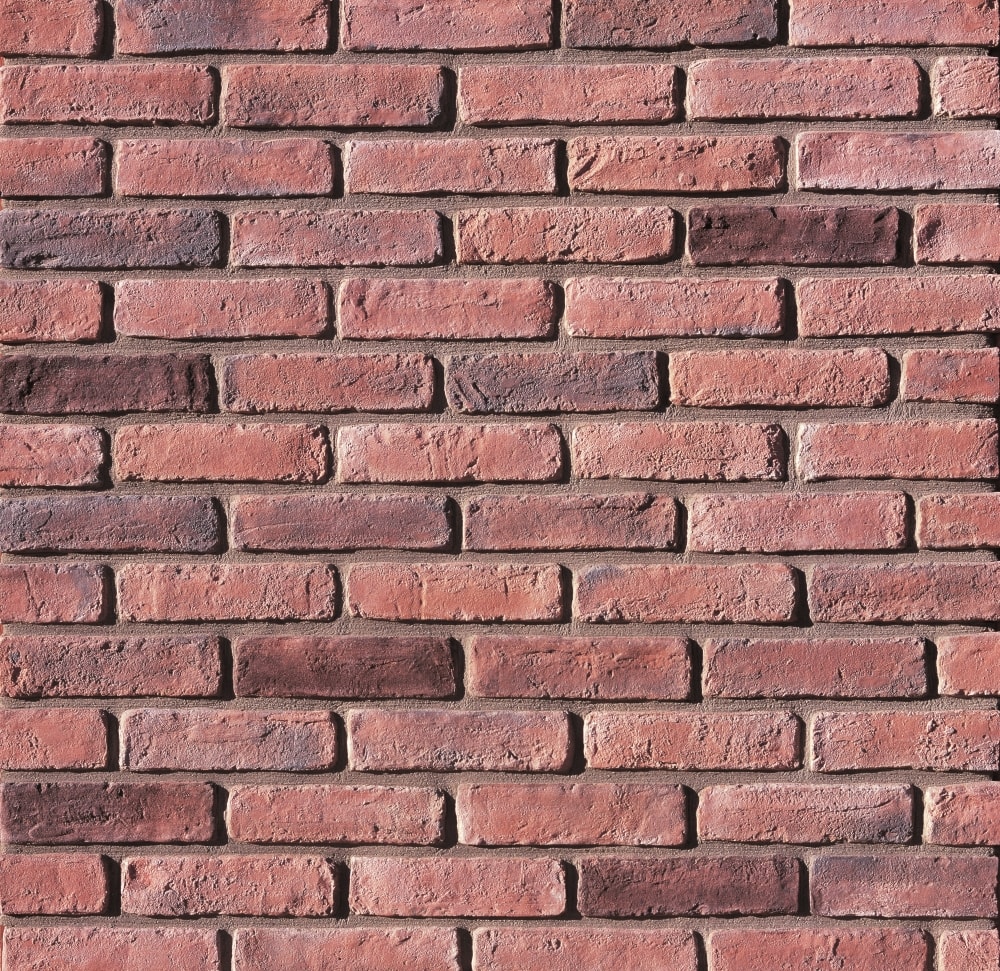
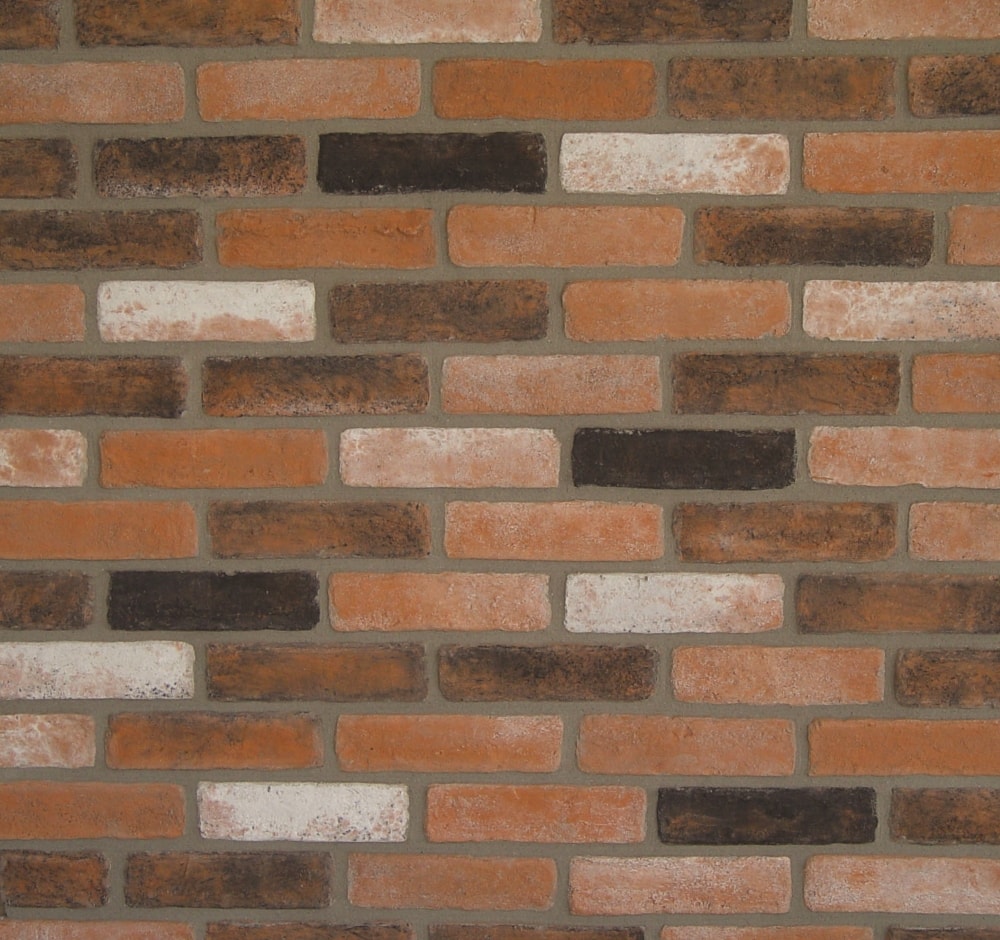
Masterbrick Rot Getrübte
106061
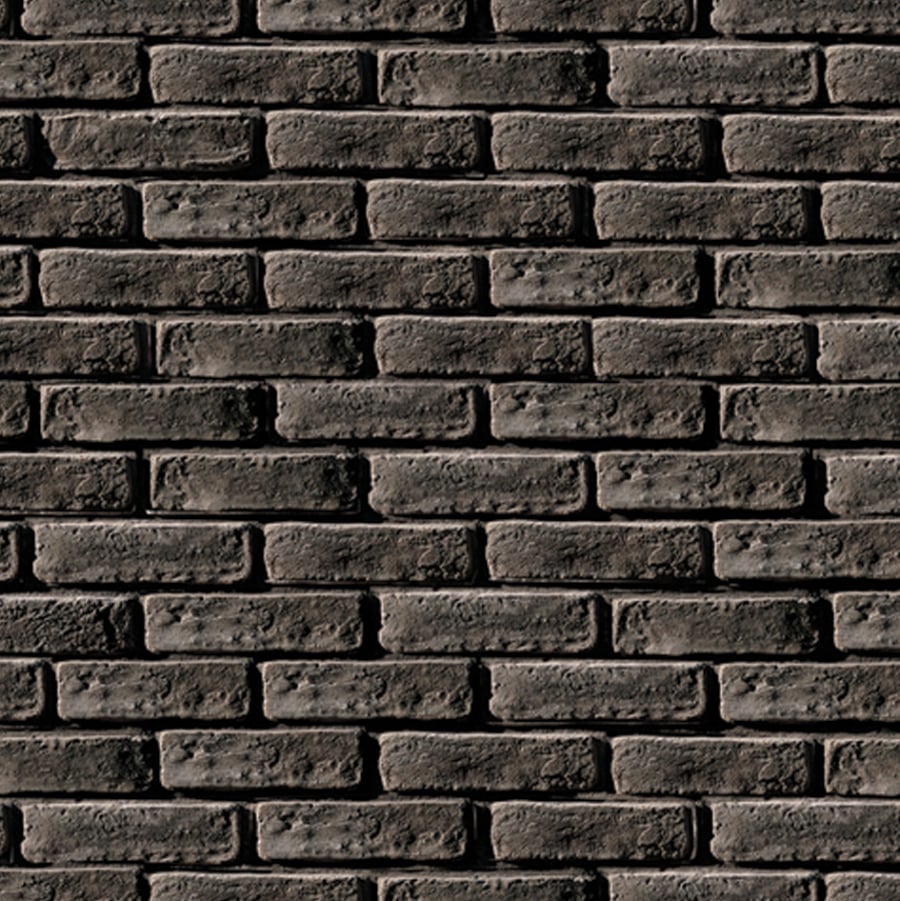
Masterbrick Schwarz
108779

Masterbrick Dusk
106059
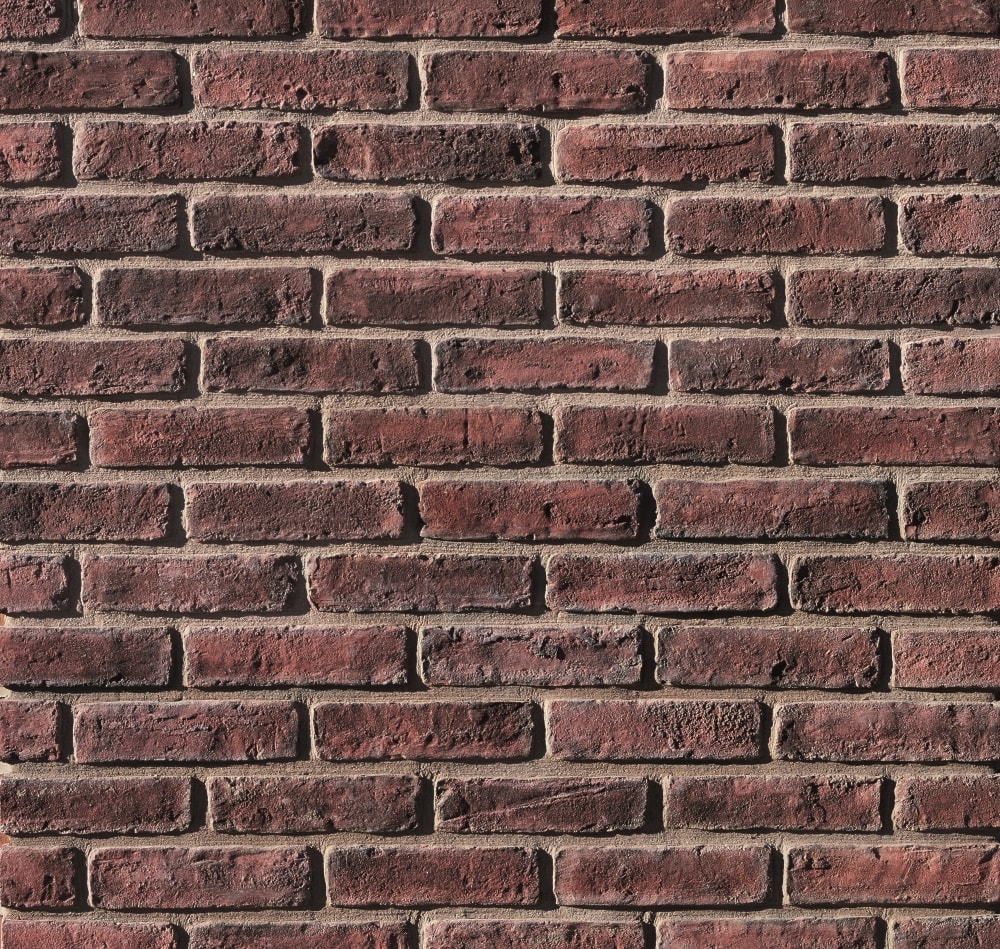
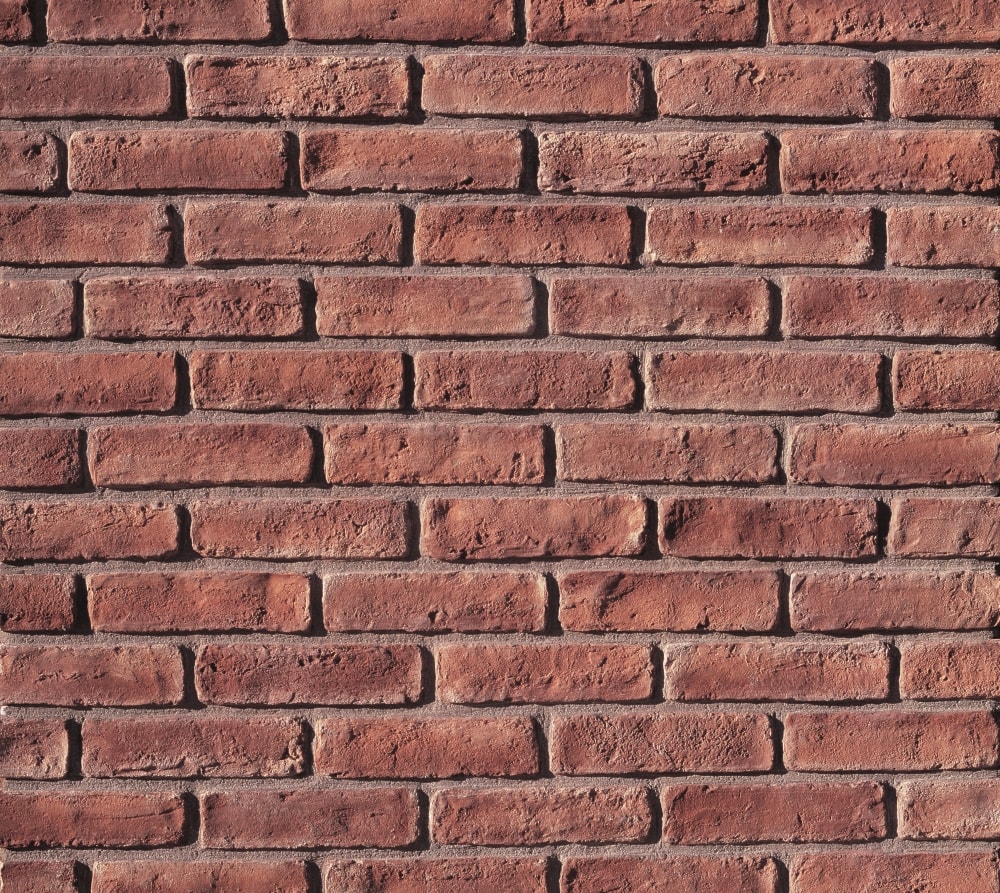
Masterbrick Dunkel Rot
106063
Masterbrick Weiß Genarbt
108216
Masterbrick Khaki
106057
Masterbrick Keramos
105957
Masterbrick Kupfer
108160
| Flach | Ecke | |
|---|---|---|
| |
6.3cm | 6.3cm |
| 23cm | 12-23cm | |
| 0.8-1cm | 0.8-1cm | |
| 18kg* | 11kg* | |
| 0.93m²* | 2m* | |
*pro Karton |
| Verwendung im Innen- und Außenbereich |
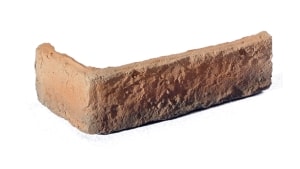
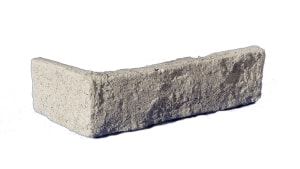
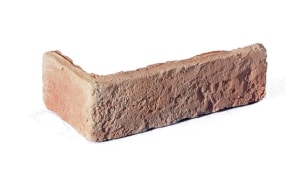
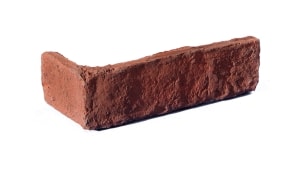
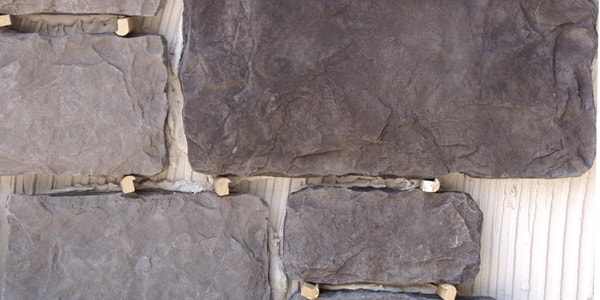
Masterbrick Ecken

Lass dich inspirieren

Masterbrick Khaki
Masterbrick Dark Red

Masterbrick Dark Red

Masterbrick Foggy
Ergänzende Produkte

Beachten Sie unsere Anleitung für eine erfolgreiche Installation
Vor der Installation – Vorbereiten der Oberfläche
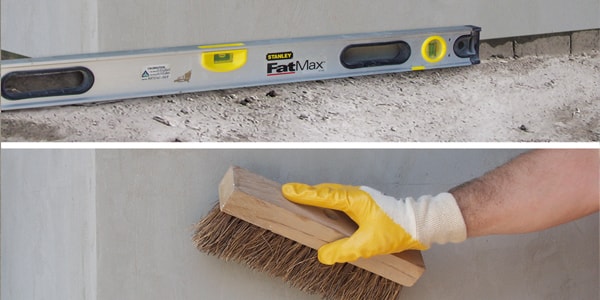
We clean the substrate from dust, dirt, for good accretion of the mortar-shapes, thickness and textures. Level out the first line of where the stones will be placed.
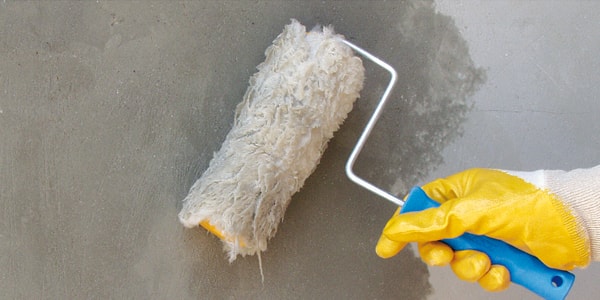
If we work on a absorbent substrate like gypsum board or wood, we have to apply primer to reduce the absorbency
Installationsschritte
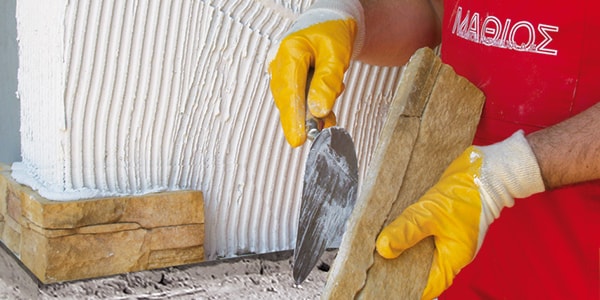
Using the spatula or resambing tool, perimetrically clean the stone from overlapping concrete for better installation. Since the back surface of the stone is dry , wet it with water to avoid the absorption of water of the mortar.

Apply mortar on the installaton surface as much as needed so that it does not dry out when installing the stone
Apply mortar at the back surface of the Stone as much as possible so there is no gap between the stone and the surface.
Installation with joint
Provided that there is a joint, in order to stabilise the stones small spacers can be used where it is needed
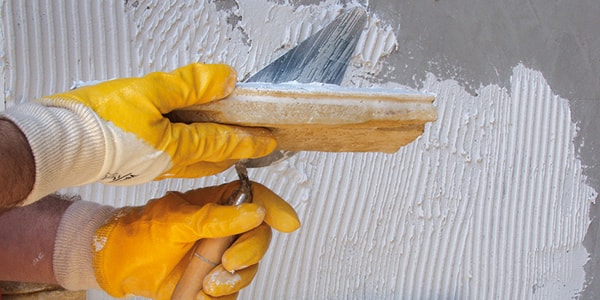
Grout
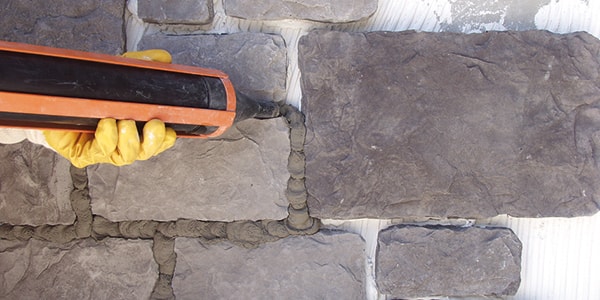
For the installation use a pastry bag or a grouting gun. In both cases effectively cut the end until the desirable width for the joint is achieved.
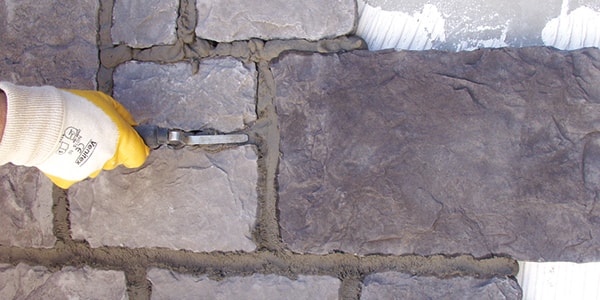
Lay the mortar with a spatula or special tool
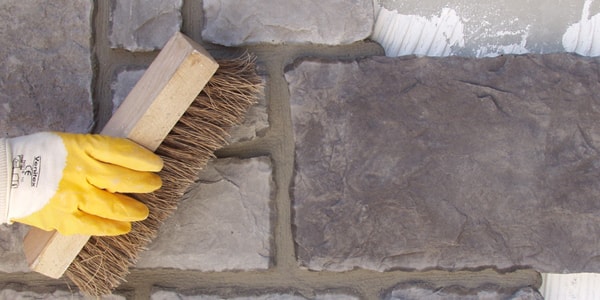
Clean the stones by using a dry paint brush.
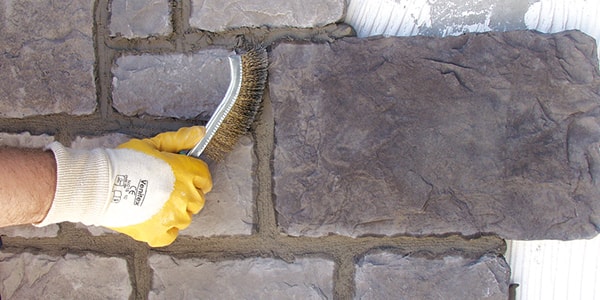
If mortars gets on the surface of the stone before it hardens (after ó or 1 hour) brush off the mortar with a soft wired brushed or hard plastic, do not use metal.
Tipps für eine erfolgreiche Installation
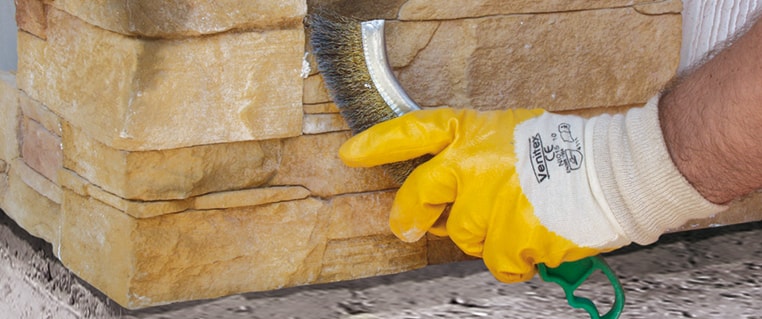
In case the stone surface dirties from the mortar it is recommended to clean it with a soft wire brush, a litttle before the mortar “hardens”.
Do not try to clean when mortar is fresh and do not use metal.
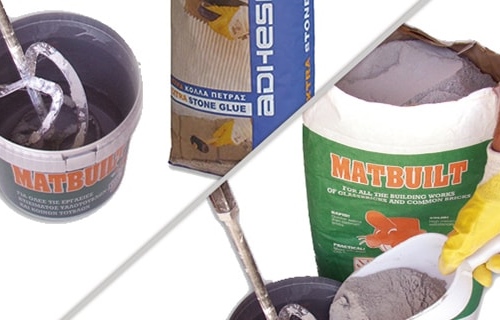
Add mortar taking into consideration the amount of water for good accretion and the right consistency.

If the installation includes corners then begin from the corner of the wall & continue the installation in line with the flat elements.
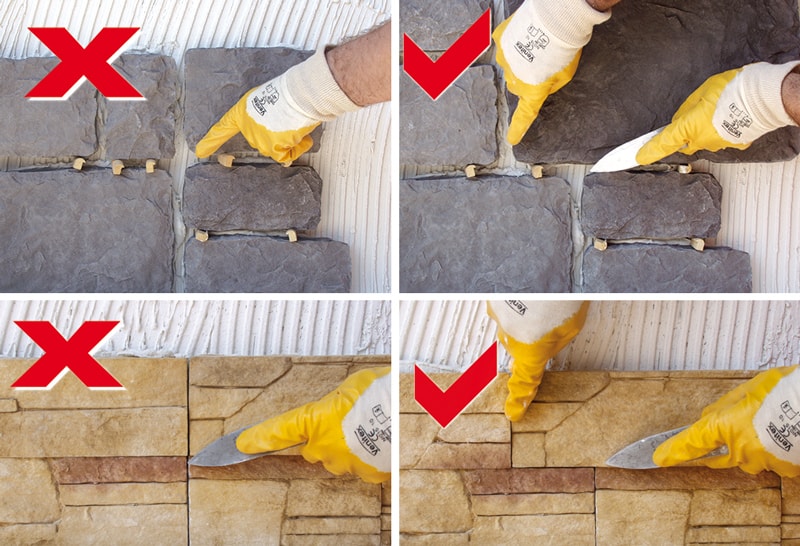
When installing the joint the creation of vertical joints in parallel lines must be avoided

If empty gaps are large, fill them with stones by cutting them to the size needed.
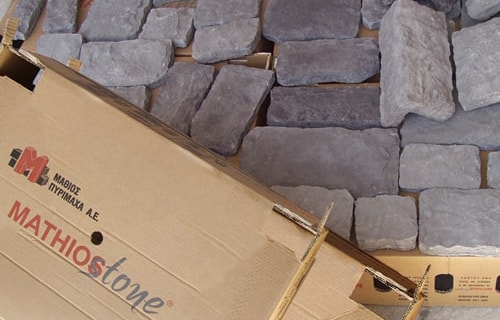
Lay out stones and mix from various cartons at least 2m² to create a ballance between different colours, shapes, thickness and textures
Garantie
Alle unsere Steinfurniere haben eine Garantie von 30 Jahren.

 Wir verwenden Cookies, um sicherzustellen, dass wir Ihnen die beste Erfahrung auf unserer Website bieten. Wenn Sie weiterhin auf der Website surfen, stimmen Sie der Verwendung von Cookies zu. Weitere Informationen zu den von uns verwendeten Cookies finden Sie in unserer Datenschutzerklärung.